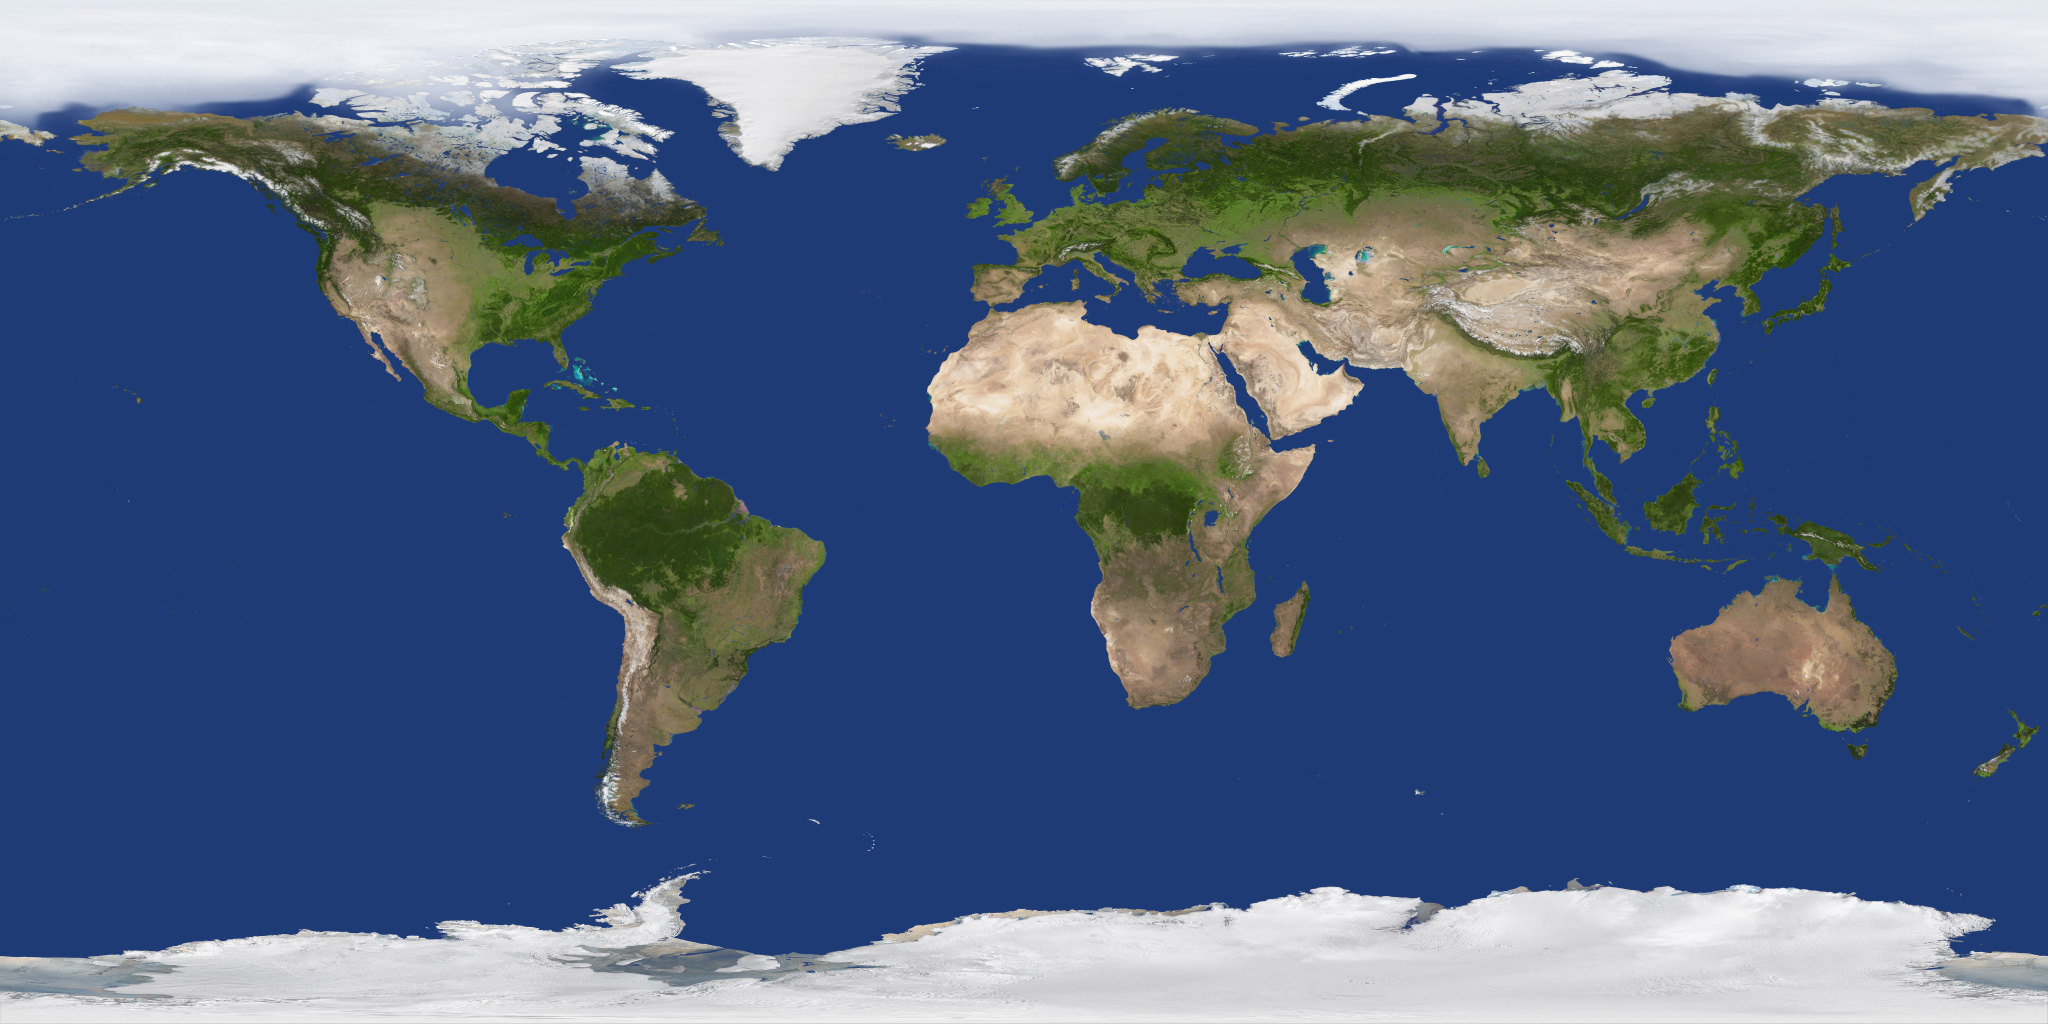
Loading textures locally, e.g. using <ImageTexture url='./2k_earth_daymap.jpg'/> raises cross origin resource sharing, known as CORS, security issues with browsers. The effect is that the texture does not load, and possibly black is shown instead, and errors in the developer console. Loading local textures can still be done, but requires setting browser options to overide the normal security checking. When done, restart the browser normally and/or change the settings back so as not to leave open a potential security hole.
Chrome/Chromium: shut down the browser if you have it running, and start/restart the browser with command line options on Windows or Linux. --allow-file-access-from-files --disable-web-security --user-data-dir. So on the Sutherland machines it means on the command line (open a terminal): chromium-browser --allow-file-access-from-files --disable-web-security --user-data-dir. In Windows you will need to set up a shortcut in which you put the command line options. On MacOS you can use the command line, we are still determining the right options but /Applications/Google\ Chrome.app --args --user-data- --disable-web-security might work, if you have the .xhtml file and the texture in the same folder/directory as you normally put your X3D work.
Firefox: from version 68 onwards (released 2019-07-09) the security setting privacy.file_unique_origin preference allows/disallows local textures to be be loaded. Set the preference to be false to allow local textures to be loaded. To change the preference value see on how to use the configuration editor to set preferences. The textures still need to be in the same directory/folder or a subdirectory/folder.
Try the textured sphere Earth example from the lecture notes, slide 60. Make sure you look at the lecture notes and see that the slide 60 image is actually a hyperlink to a full X3D example, which you can click on in the browser. That should open up an X3DOM browser tab with the example, which the texture may work, or may not and show up as black with a 'loading' message (and error in the web developer console about cross origin). If it doesn't work, read the above on CORS. Remove the texture by commenting it out and reload.
Now try downloading the example with right click save as and using it locally. You will also need to download the texture. Put both in the same folder/directory as your other X3D work. Adjust/fix the <link> and <script> links if needed.
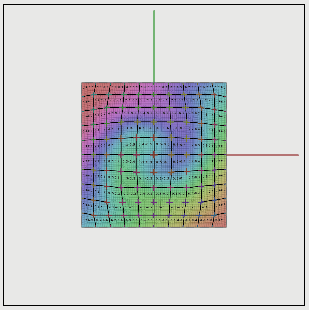
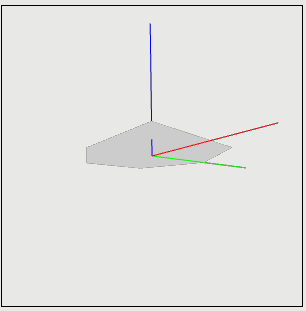
Create a grey square using an indexed face set shape with just one face. The square has coordinates (-1,-1, 0) bottom left and (1,1, 0) top right, and as z = 0 the square lies in the xy plane. Use a <Color> node to specify the color, and a colorIndex field in the IndexedFaceSet (rather than an Appearance node), similar to the IndexedLineSet for the axes, however set colorPerVertex="false" which means there is one color per face.
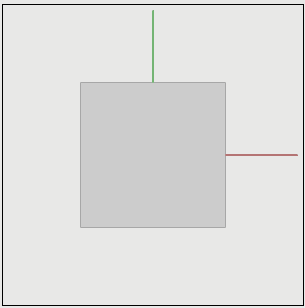
Add a Viewpoint node with position="0 0 2" to the scene. This will override the default viewpoint position of (0, 0, 10). Adjust the position so the whole scene can be viewed when loaded.
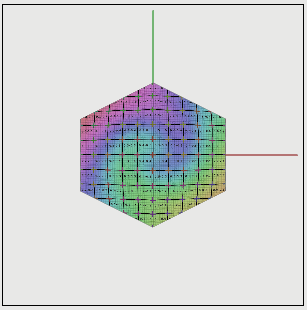
X3D specifies that shape nodes have default texture coordinates, which means sometimes it "just works". Add a texture to the square by specifying an <ImageTexture url="./uv_grid.jpg"> in an <Appearance> node saving the texture in the same folder/directory as the source for the tutorial. Also look at the texture image directly in the web browser.
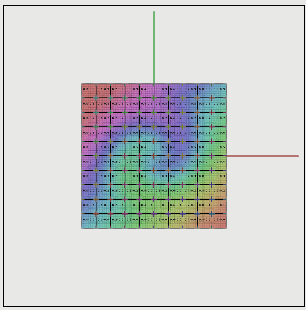
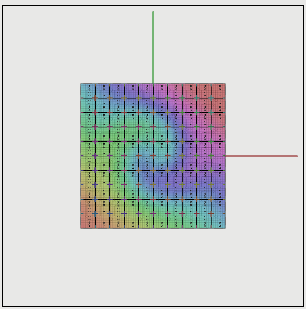
Specify the texture coordinates, to override the defaults. Add a <TextureCoordinate> node to the <Shape> node. The <TextureCoordinate> is similar to a <Coordinate> node, except (s, t) coordinates are 2D rather than 3D, and texture coordinates should be in the range [0,1]. Also add a texCoordIndex field to the IndexedFaceSet node. The image when loaded in x3dom should not change from using defaults, i.e. it should look the same as in the previous exercise.
Modify the texture indexes so that the texture is applied sideways, i.e. is rotated clockwise - this verifies they are actually being used.
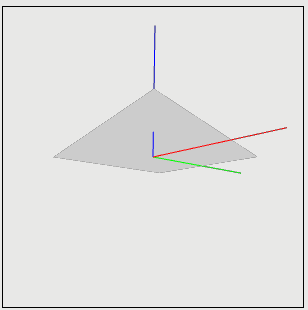
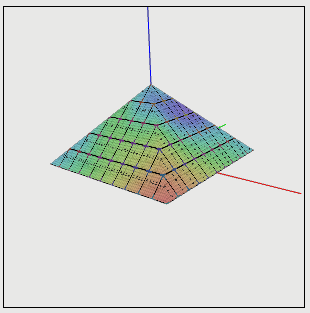
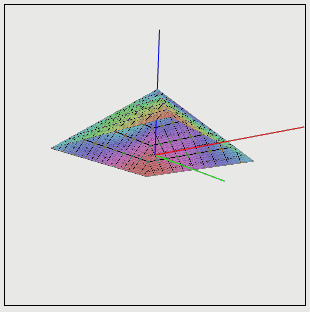
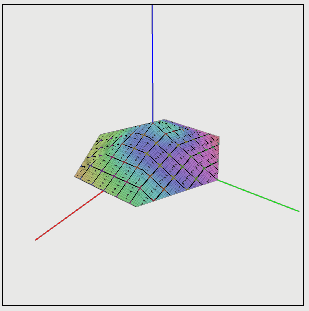
Disable the texturing (move the texture fields and nodes to the bottom and comment the text out). Change the square to a pyramid. Add a coordinate (0, 0, 0.5). Modify the coordinate indices so there are 4 faces, using -1 to indicate the end of an index list. Check it looks like a pyramid by using pan, rotate, zoom in x3dom (click and hold left, middle and right mouse button).

Add the texture to the pyramid. An extra texture coordinate will need to be added, along with texture indices for each of the 4 faces.
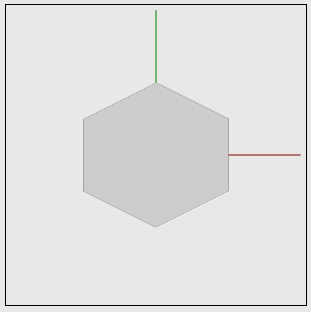
Modify the square pyramid to be a hexagonal pyramid with 6 faces. Texture it.